Summary #
A project is where your saved work lives in MP Ember. It stores your model text, runs, results, and related data under a name you choose. Use Create a New Project when you want to start fresh, load an example, or import an existing .mp or .wng file as a saved project.
Before You Start #
- Work in Project mode (not Scratch Pad). New projects are automatically saved; the Scratch Pad is for temporary work unless you save it later.
- Make sure you are in the correct workspace (organization). Switch workspaces first if needed.
- You cannot create a new project while a model is compiling. Wait for the current run to finish or cancel it.
Ways to Create a New Project #
You can start the flow in two ways:
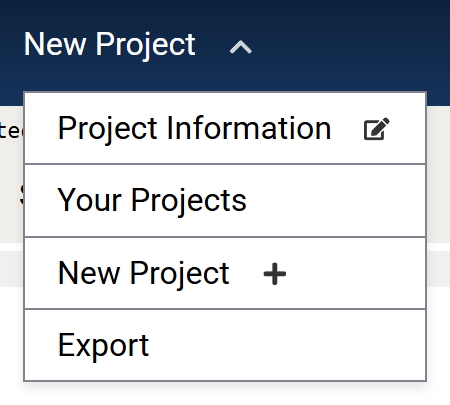
When a Project is Already Open:
- Click the current project name in the top-left corner to open the project menu.
- Choose New Project.
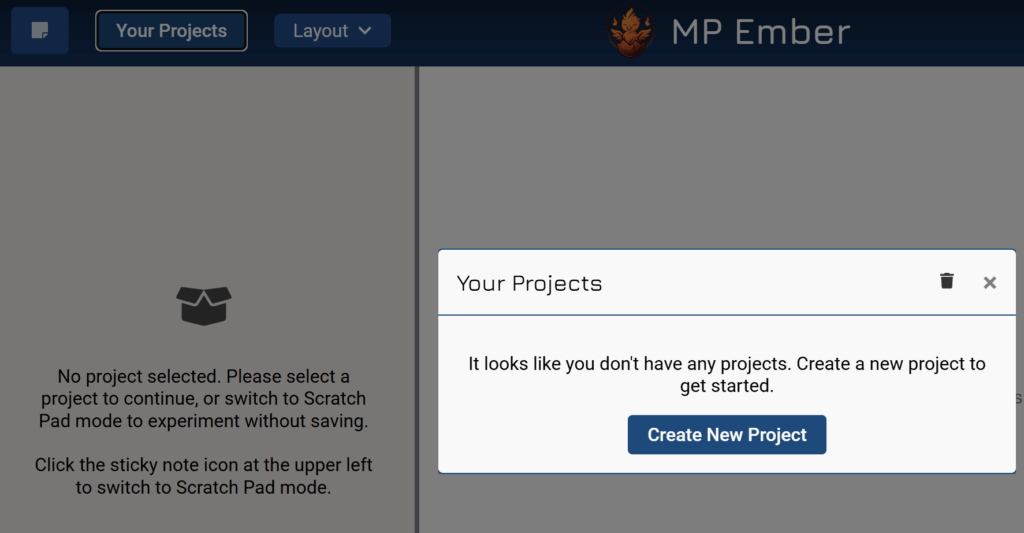
When No Project is Open:
- Stay in Project mode.
- Click Your Projects in the top-left area.
- Click Create New Project (or the equivalent button shown when you have no projects).
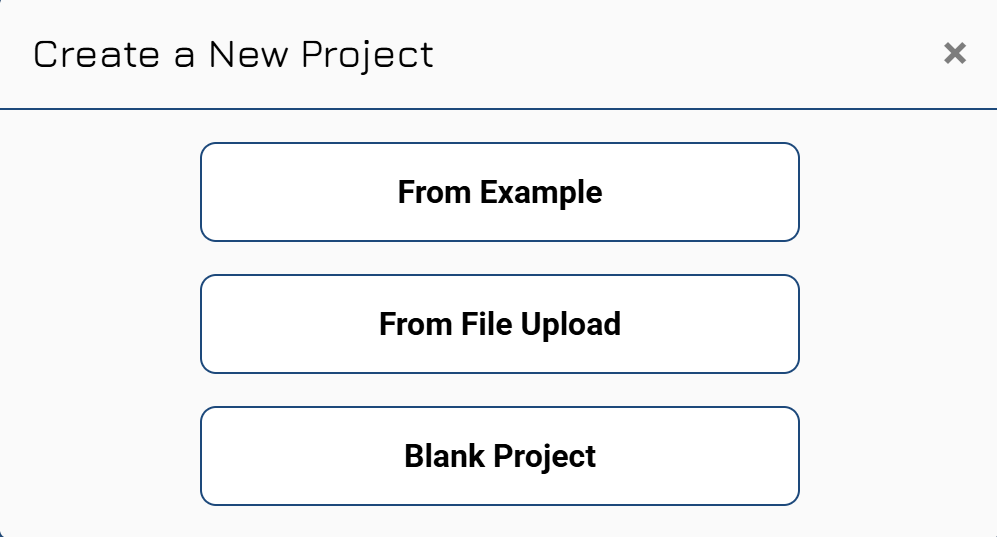
The Create a New Project Dialog Appears with Three Options:
| Option | Best For |
|---|---|
| From Example | Starting with a built-in sample model. |
| From File Upload | Importing an existing .mp or .wng file from your computer. |
| Blank Project | Starting from an empty model. |
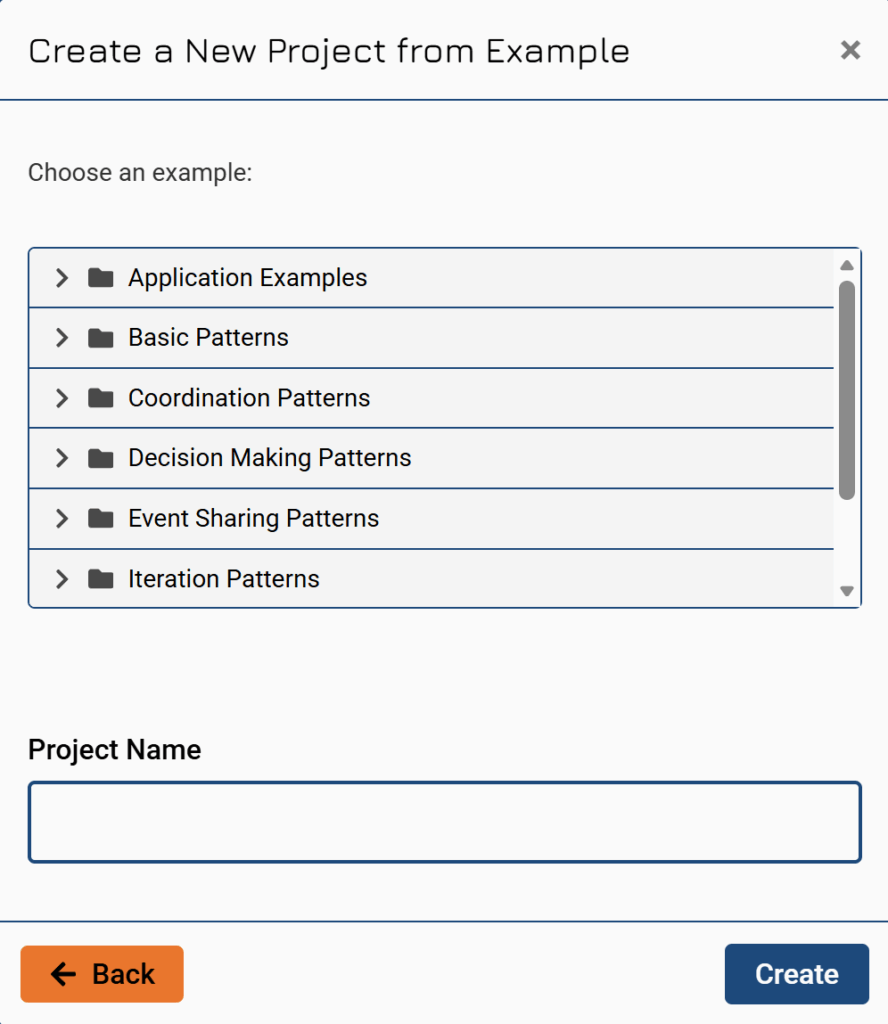
Create a Project From an Example:
- From New Project, select From Example.
- Expand the folders and click the example you want to use.
- Review and edit the suggested Project Name (it usually ends with “(Copy)”).
- Click Create.
The example is copied into a new project and opens in the workspace. Examples are useful for learning the editor and graph without building a model from scratch.
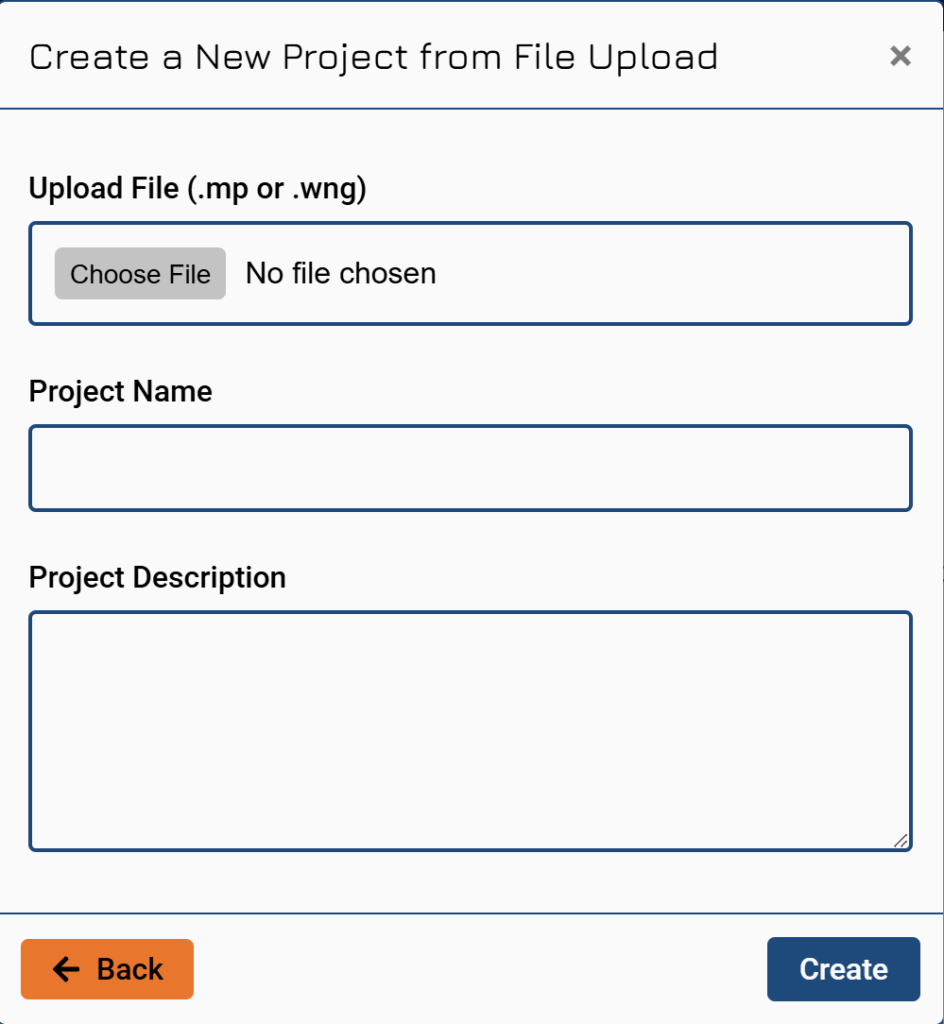
Create a Project From a File Upload:
- From New Project, select From File Upload.
- Choose your .mp or .wng file.
- Review and edit the suggested Project Name if needed.
- (Optional) Add a Project Description.
- Click Create.
The file is imported, and the project opens automatically.
Create a Blank Project:
- From New Project, select Blank Project.
- Enter a Project Name.
- (Optional) Add a Project Description.
- Click Create.
The new project opens immediately and is ready for editing.
After You Create a Project:
- The new project becomes your current project.
- Its name appears in the top-left project menu.
- You can rename it or edit the description later via Project Information in the project menu.
- Work is automatically saved.
- To switch to another saved project, use Your Projects in the project menu.
