

The Settings dialog is where you customize how MP Ember looks and behaves. Settings are tied to your account, so they follow you across projects and sessions.
Open Settings by clicking the gear icon (⚙) in the top-right of the workspace.
Settings are organized into four tabs along the left side of the dialog:
| Tab | What it Controls |
|---|---|
| General | Dark mode and accessibility (colorblind-friendly patterns) |
| Code Editor | Word wrap and split-screen editing |
| Themes | Colors used to draw traces and graphs |
| Traces | Probability display and the AI Trace Analyzer panel |
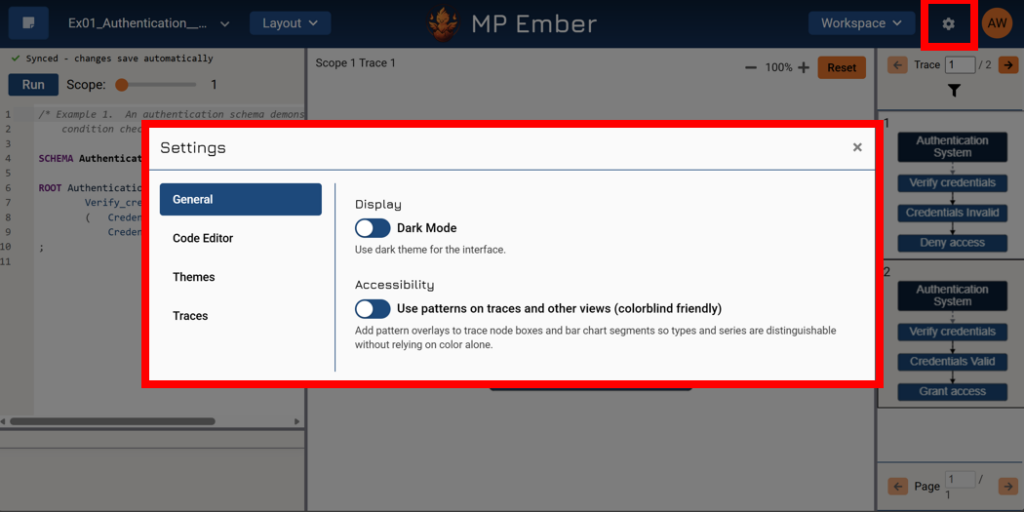
Settings are organized into four tabs along the left side of the dialog:
Open Settings by clicking the gear icon (⚙) in the top-right of the workspace.
| Tab | What it Controls |
|---|---|
| General | Dark mode and accessibility (colorblind-friendly patterns) |
| Code Editor | Word wrap and split-screen editing |
| Themes | Colors used to draw traces and graphs |
| Traces | Probability display and the AI Trace Analyzer panel |
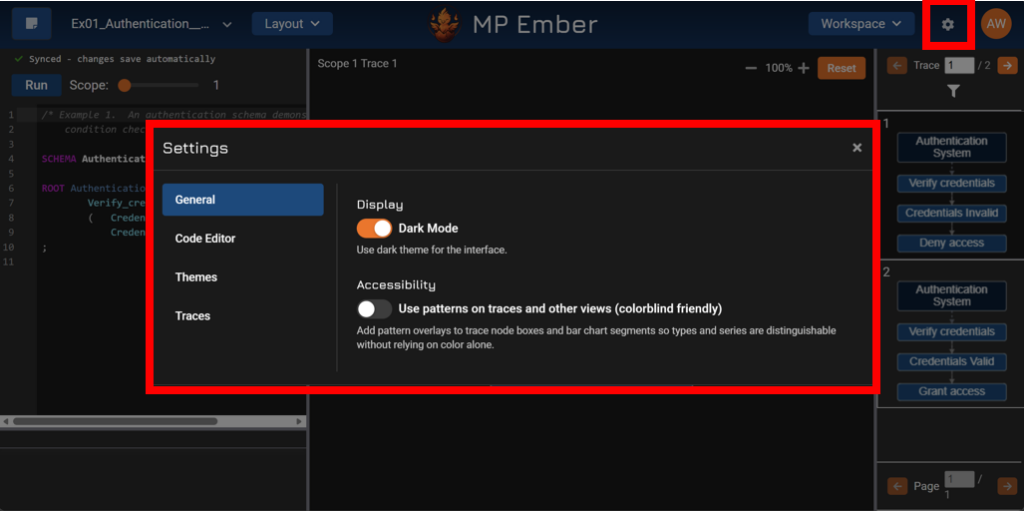
Most options take effect immediately and are saved automatically — there is no separate Save button (except when creating or editing a theme).
General #
Interface-wide appearance and accessibility options.
Display #
Dark Mode switches the interface between light and dark appearances. Turn it on for a dark interface, off for light.
Accessibility #
The toggle for Use patterns on traces and other views (colorblind friendly) adds pattern overlays to trace node boxes and bar chart segments so different event types and data series can be told apart without relying on color alone. Helpful if colors are hard to distinguish.
Code Editor #
Options for the code editor where you write your model.
Word Wrap #
Wraps long lines of code so they stay within the editor’s width instead of scrolling sideways.
Split Screen #
Splits the code editor into two panes, which is useful when editing large models and you want to view two parts of the code at once.
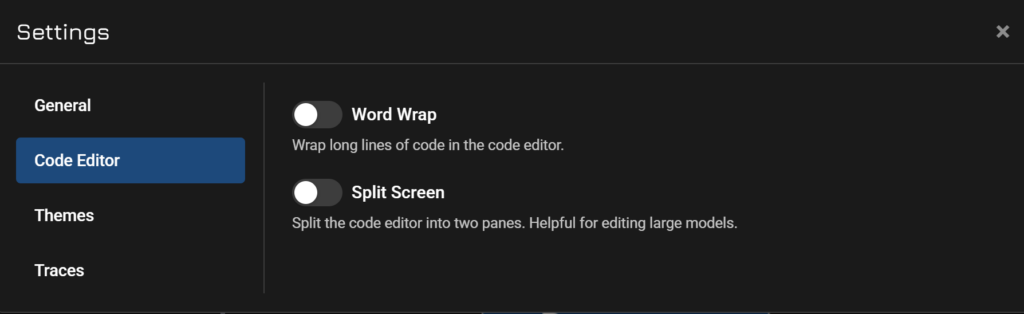
Options for the code editor where you write your model.
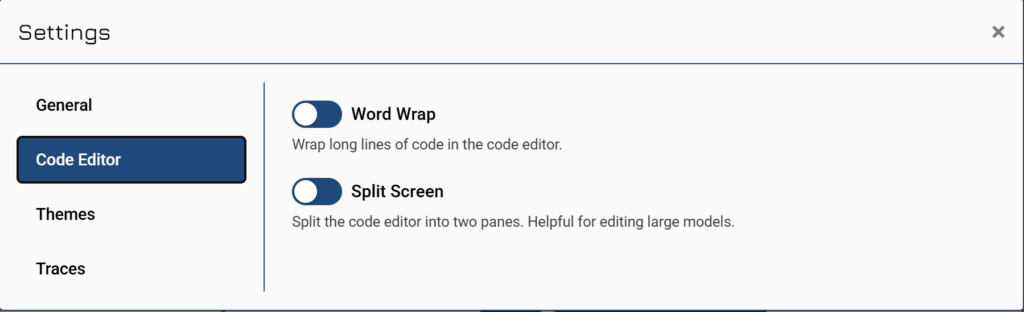
Word Wrap #
Wraps long lines of code so they stay within the editor’s width instead of scrolling sideways.
Split Screen #
Splits the code editor into two panes, which is useful when editing large models and you want to view two parts of the code at once.
Themes #
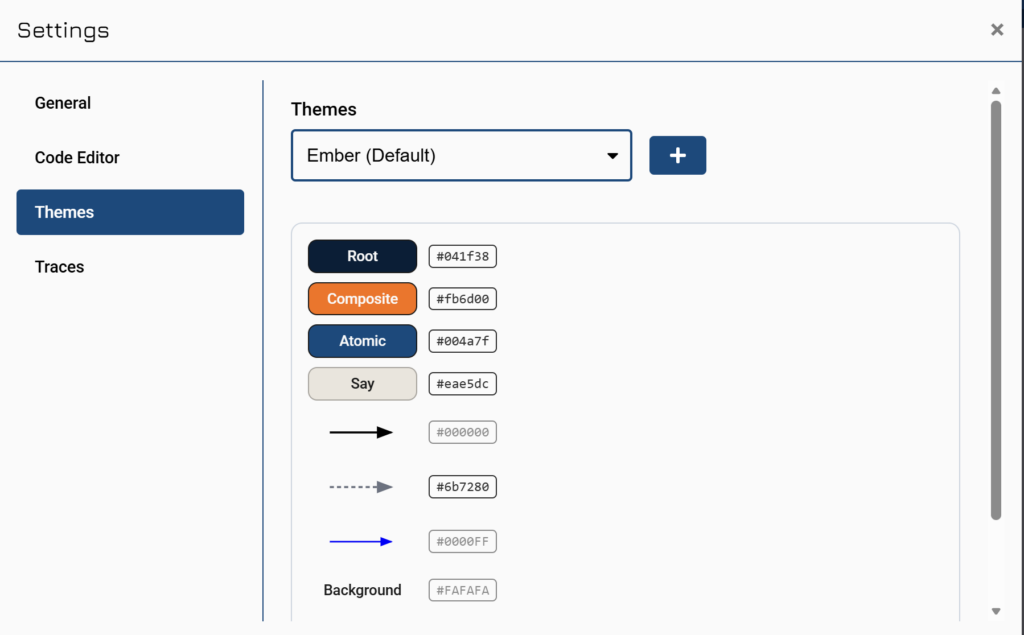
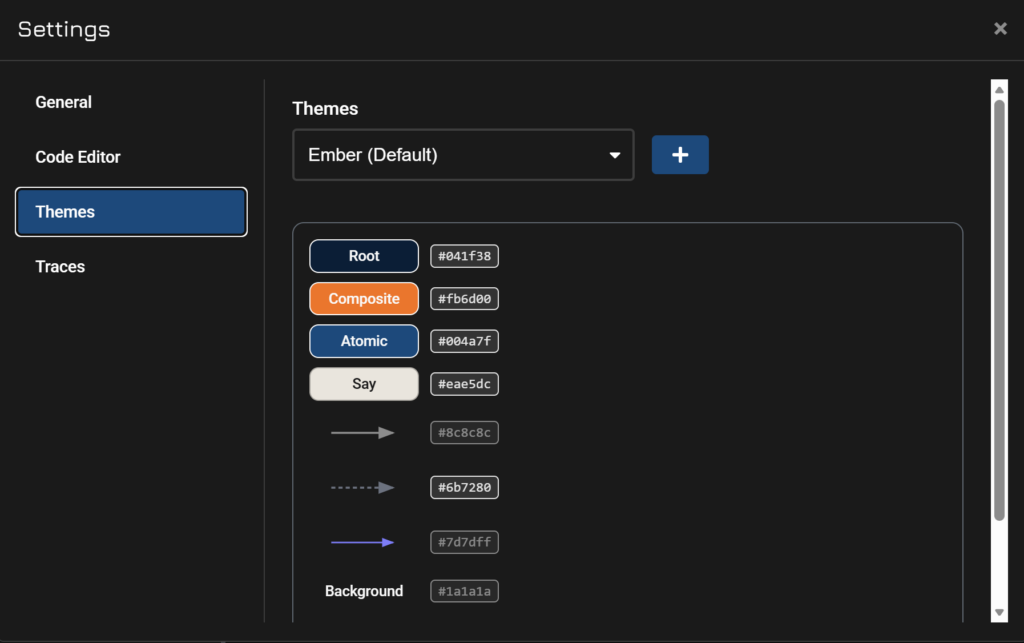
Themes control the colors used to draw traces and graphs (event boxes, arrows, and background). You can apply a built-in theme or create and edit your own.
Choosing and Applying a Theme #
- Open the Themes tab.
- Pick a theme from the dropdown.
- If it isn’t already your active theme, click Apply.
When a theme is active, you’ll see “This is your current theme.” The default theme (Ember) is always available.
- Open the Themes tab.
- Pick a theme from the dropdown.
- If it isn’t already your active theme, click Apply.
When a theme is active, you’ll see “This is your current theme.” The default theme (Ember) is always available.
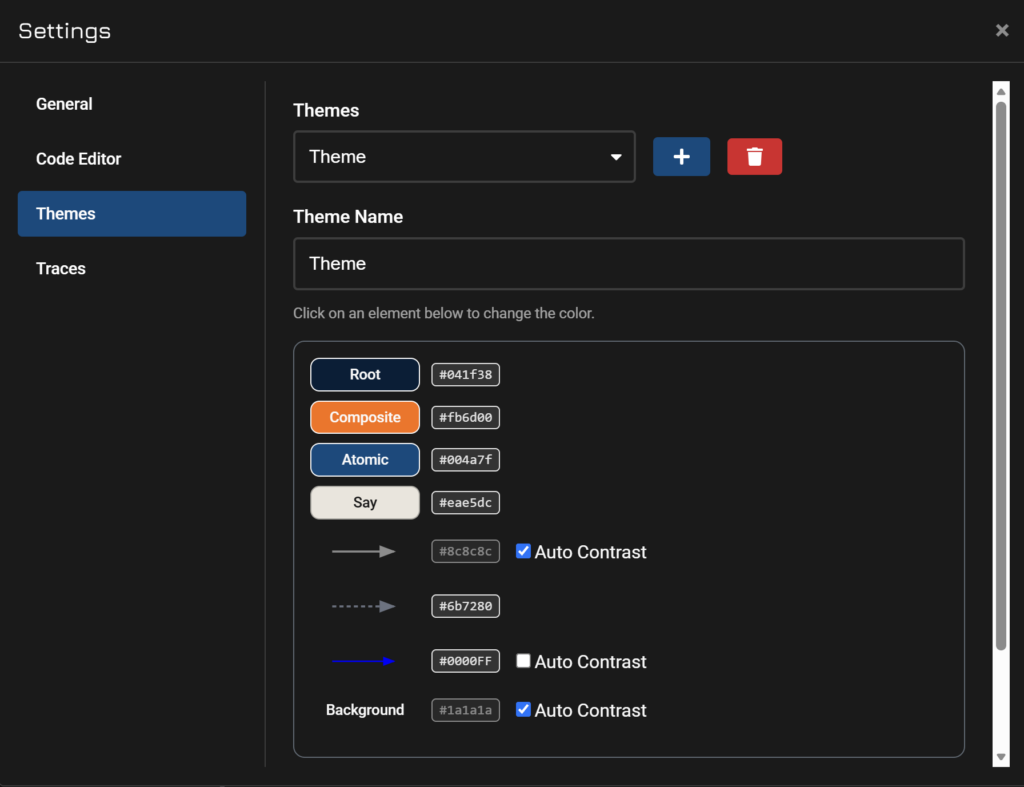
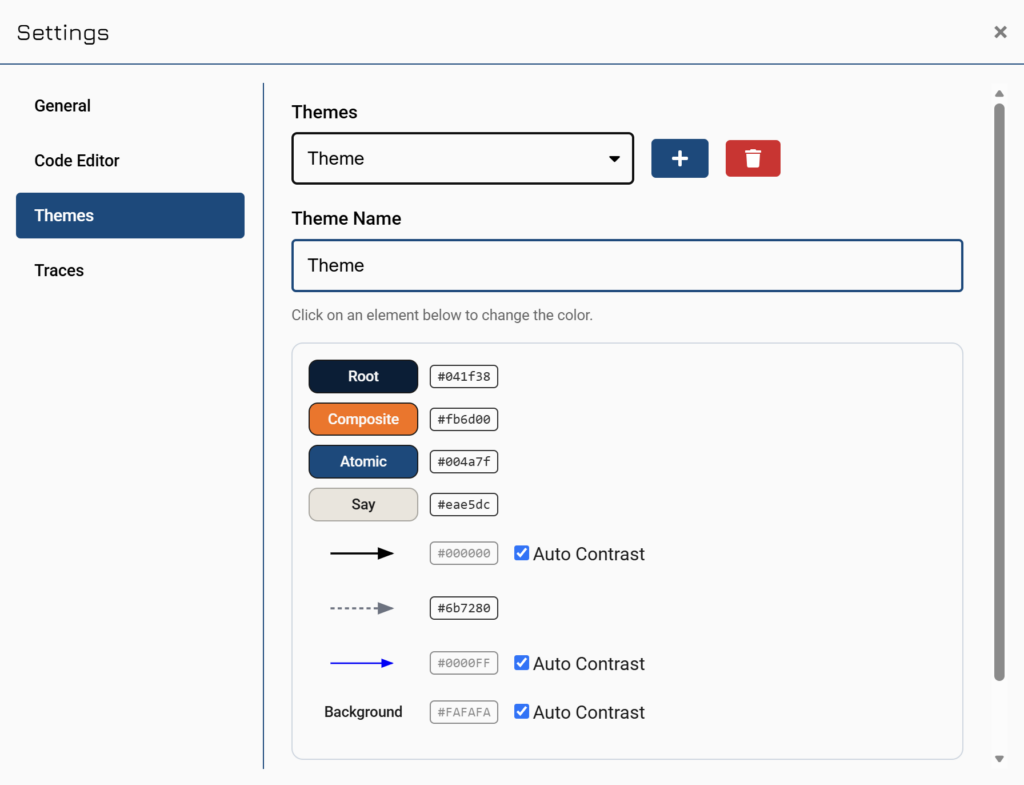
Theme Elements You Can Color #
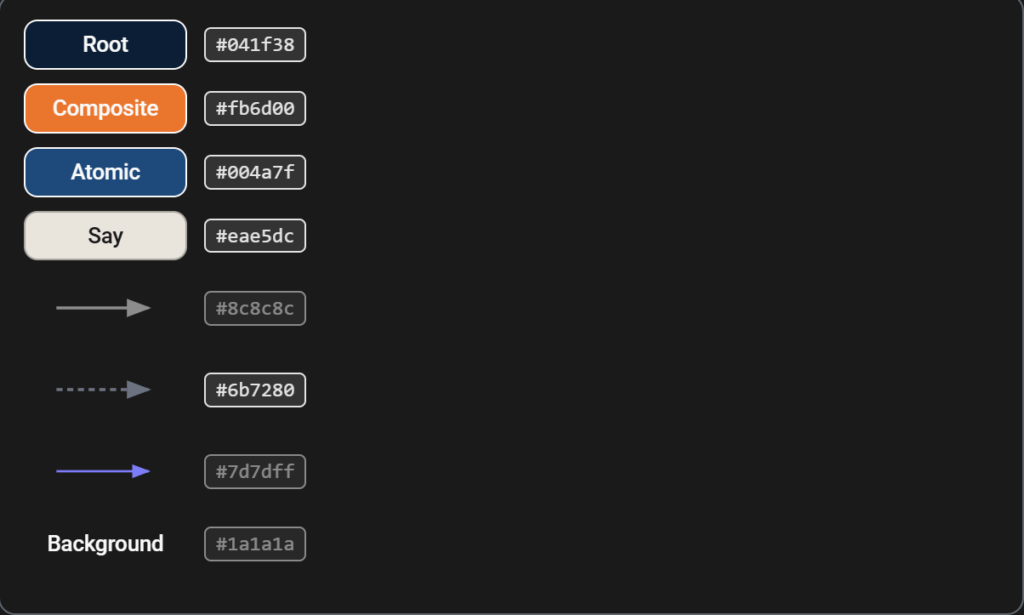
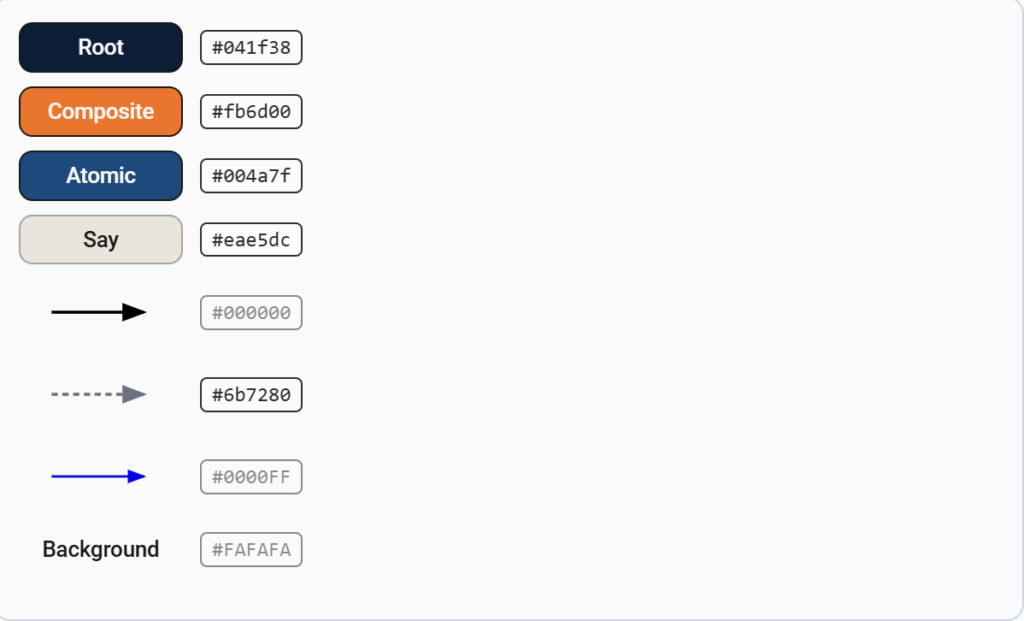
A preview shows the elements a theme controls:
- Root, Composite, Atomic, and SAY event boxes
- Precedent arrow (thick solid), Inclusion arrow (dashed), and user-defined relation (thin solid) lines
- Background
- Root, Composite, Atomic, and SAY event boxes
- Precedent arrow (thick solid), Inclusion arrow (dashed), and user-defined relation (thin solid) lines
- Background
Creating a Theme #
- Click the + (add) button next to the theme dropdown.
- Enter a theme name and click Save.
- The new theme starts from a default palette and becomes selected.
Editing a Theme #
You can edit themes you created (built-in themes are read-only):
- Select your theme.
- Optionally change its name.
- Click an element in the preview to change its color.
- Click Save Theme to keep your changes.
If you edit the theme that’s currently applied, your changes take effect once saved. Changes can be applied after you click Save Theme.
You can edit themes you created (built-in themes are read-only):
- Select your theme.
- Optionally change its name.
- Click an element in the preview to change its color.
- Click Save Theme to keep your changes.
If you edit the theme that’s currently applied, your changes take effect once saved. Changes can be applied after you click Save Theme.
Deleting a Theme #
Select one of your own themes (that isn’t currently applied) and click the trash button. You’ll be asked to confirm. Built-in themes and your active theme can’t be deleted.
Traces #
Options that affect the trace views.
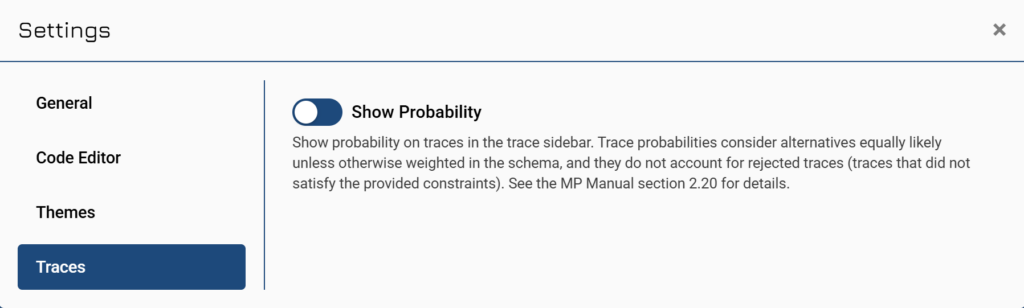
Show Probability #
Before enabling this, review how probabilities are computed. They are toggled off by default.
Trace probabilities treat alternatives as equally likely unless your schema weights them otherwise using special syntax designed for that. Even so, these probabilities (by design) do not account for rejected traces (those that did not satisfy your constraints). After the traces are rejected by constraints, the probabilities for the remaining traces are computed and prorated so that they add up to 1. See the MP Manual, section 2.20, for details and alternative strategies for calculating probability (e.g., conditional probability).
Options that affect the trace views.
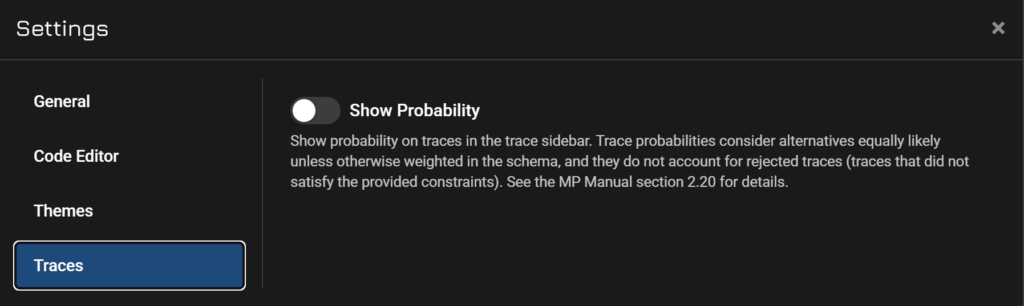
Show Probability #
Before enabling this, review how probabilities are computed. They are toggled off by default.
Trace probabilities treat alternatives as equally likely unless your schema weights them otherwise using special syntax designed for that. Even so, these probabilities (by design) do not account for rejected traces (those that did not satisfy your constraints). After the traces are rejected by constraints, the probabilities for the remaining traces are computed and prorated so that they add up to 1. See the MP Manual, section 2.20, for details and alternative strategies for calculating probability (e.g., conditional probability).
Show AI Trace Analyzer #
Shows the AI Trace Analyzer panel at the bottom of the center trace view. From there, the tabs guide you through analyzing emergent behavior in traces.
Note: Availability of the AI Trace Analyzer is dependent on license type.
General Notes on Settings #
- Settings apply to your account, not to a single project.
- Changes save automatically as you toggle them; you don’t need to confirm. The exception is the Themes tab, where creating or editing a theme uses Save / Save Theme buttons.
- If settings fail to load, the dialog shows “Failed to load settings.” Reopen it, reload the page, or log out and then log back in.
